Have you ever heard of the exposure triangle in photography?
If you haven’t studied photography at all, it might as well be the Bermuda triangle, right?
The exposure triangle is what photographers refer to as the perfect balance of settings on thier camera to get the best possible shots they can.
It isn’t that complicated and once you understand it and get the grasp of it you can start controlling your camera better and in the process improve your photography skills.
Let’s get into it.
How To Get Out of Automatic Mode
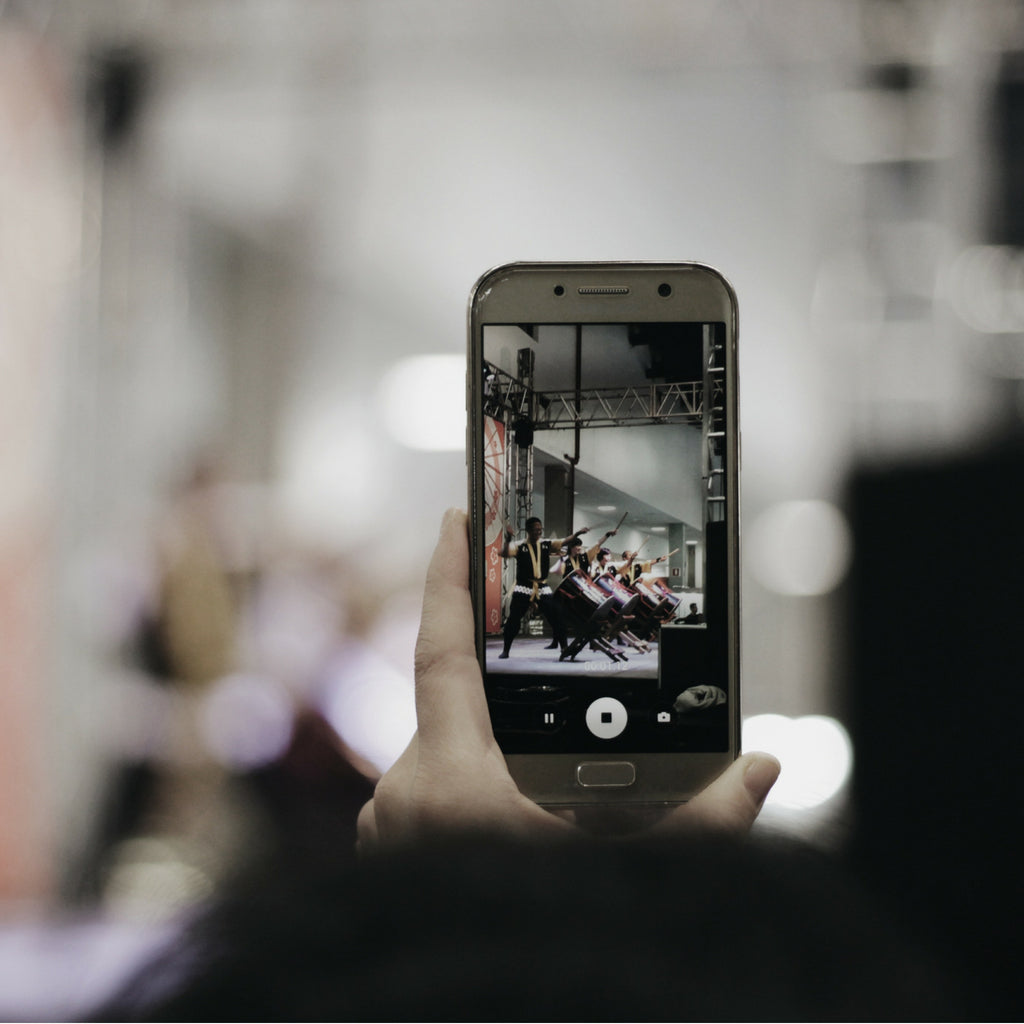
Shooting in automatic mode is typically the standard way that people take photos with their phones.
Phone cameras are pretty good at detecting light and points of interest and do a fairly good job at taking well-exposed and focused photos.
There’s nothing wrong with shooting in automatic mode. But what if you took control and told your camera exactly where to focus and how to handle light?
What if you wanted to get more creative and do some artsy shots? This is where it becomes important to understand the manual features on your camera phone.
Understanding the exposure triangle is essential if you want to understand the basics of photography.
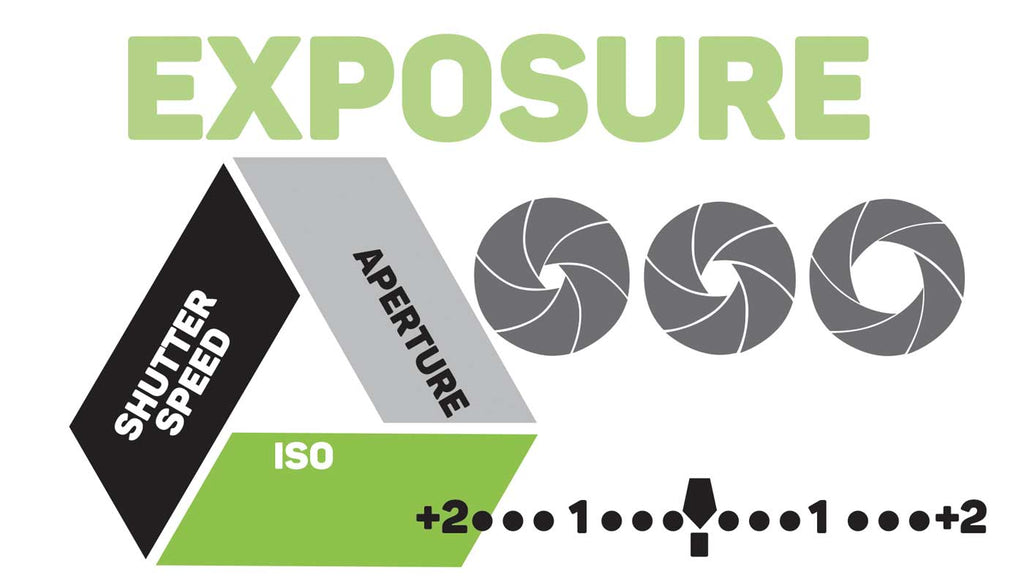
What Is The Exposure Triangle?
Photography is made up of three essential components. ISO, shutter speed, and aperture. They all work together to provide a perfectly exposed shot.
ISO
This is the number you use to tell the camera how much light to let in. The lower the number, the less sensitive it is - Good for bright light situations. Nighttime or indoor photos need a higher ISO number. Generally, an ISO between 100 and 400 is good for regular photos during daytime.
Shutter speed
This is the function that tells your camera how fast to take the photo. You will see numbers like 1/160, 1/80, 1/20 for example.
The lower the number the slower the speed of the shutter. Meaning that the camera stays open longer, letting more light in.
Remember that when the shutter speed is slow, the camera needs to be stabilized. This is where a tripod comes in very handy.
Anything below 1/60 will require that you stabilize the camera. Any movement will be captured while it is open and will cause blurry photos.
But this is what you play with when you want to create soft flowing water photos or trail lights. The camera takes a long photo and movement becomes flowing.
A higher shutter speed is required when doing action or sports photos.

Aperture
Aperture, also called f-stop, controls the depth of field. Ever see those blurry backgrounds? This is achieved with a small f-stop number, f2 for example.
Shooting with a low aperture separates your subject from the background and this is a great method to use to get good portrait shots.
You probably have Portrait Mode on your phone. When you use this feature on your phone it is actually shooting with a low f-stop number in order to create a separation of subject and background.

Third-Party Apps to Use the Exposure Triangle on Your Phone
How do you apply this to your phone? Your phone may have manual modes already, or you may have to download a third-party app to have access to these features.
Here are a few apps to let you put your phone into manual mode and let you change the ISO, shutter speed, and aperture.
Camera +2
How To Use the Exposure Triangle
It takes practice to learn to use the exposure triangle efficiently. Take time to play around with different settings to get familiar with what the camera can and cannot do.
Here are a few reminders about using the exposure triangle.
- Raise the ISO number when the light is not sufficient.
- Slow the shutter speed if you want to achieve smooth flowing water or light trails.
- The smaller the f-stop number, the less depth of field and more blurry background.
Remember, don’t forget to focus! A surefire way to get sharp photos is to learn to set the focus.
Tell your camera where to focus by tapping the screen where you want the focus to be. Long-press on the screen and it will lock the focus exactly where you want and you can then recompose your shot and keep the focus on the subject.
Will you be trying out your new exposure triangle knowledge on your camera?
Join our Facebook page Shoot Like a Pro With Your Phone to be part of a community of like-minded people who are passionate about phone photography. There you will get to share your photos, get advice and tips, exchange knowledge, and also participate in photo contests with prizes.