Did you know the word photography comes from the Greek word for light; ‘pho’ and ‘graphis’ meaning drawing? Therefore it isn’t surprising that lighting is such an important aspect to consider when taking photographs.
Even with the best cell phone camera out there, you’re not going to get a decent photo without knowing about lighting. With such good quality lenses and software these days, it’s easy to leave it all up to the cell phone itself. However, with a little knowledge about light and how to control it, your photos will improve vastly. Here are some tips on what to look out for...
Where is the light coming from?
Find the source of light in the shot and use it to your advantage. The light could be coming from a lamp, computer or the sun itself. If you can access natural light, this is the best option. For example, when indoors move to a window so the natural light shines down on your subject. For portraits specifically, the more diffused the light the better, as it allows greater detail.
Control the light
Now you know where the light it coming from, use it. If you’re taking a portrait, avoid capturing your subject under direct light. This is unflattering as it causes dark circles around the eyes and generally a shadow cast over the face. Ask your subject to take a few steps back and you won’t have that problem anymore.
Avoid taking a photo with the light behind the subject, unless you’re going for an arty silhouette image. A common mistake is taking a photo with a window behind the subject. Switch positions and the outcome will be a lot better. Also see what effects the light from the window has on the objects within the room. Often this can lead to a satisfying and dramatic shot.
Best positions of lighting are directly in front, or and to the side of the subject. If indoors, play around with the lights available. All the lights on at once, isn’t necessarily the best option as it doesn’t allow shadow detail which is needed for a balanced and more interesting photo. Use one single light source from the side to create a dramatic and unique shot.
Flash or no flash?
Flash technology on cell phones is still not that advanced, so using flash is best avoided. It’s outcome is usually unflattering and too harsh. More recent phones have colour-balanced flashes, which are more advanced. However your best option is still light from another source such as a lamp or window if there is any.
If you’re serious about photography and often take photos in low light, you can purchase an external flash. Triggered by bluetooth, an external flash at the side of your subject will create far better results.
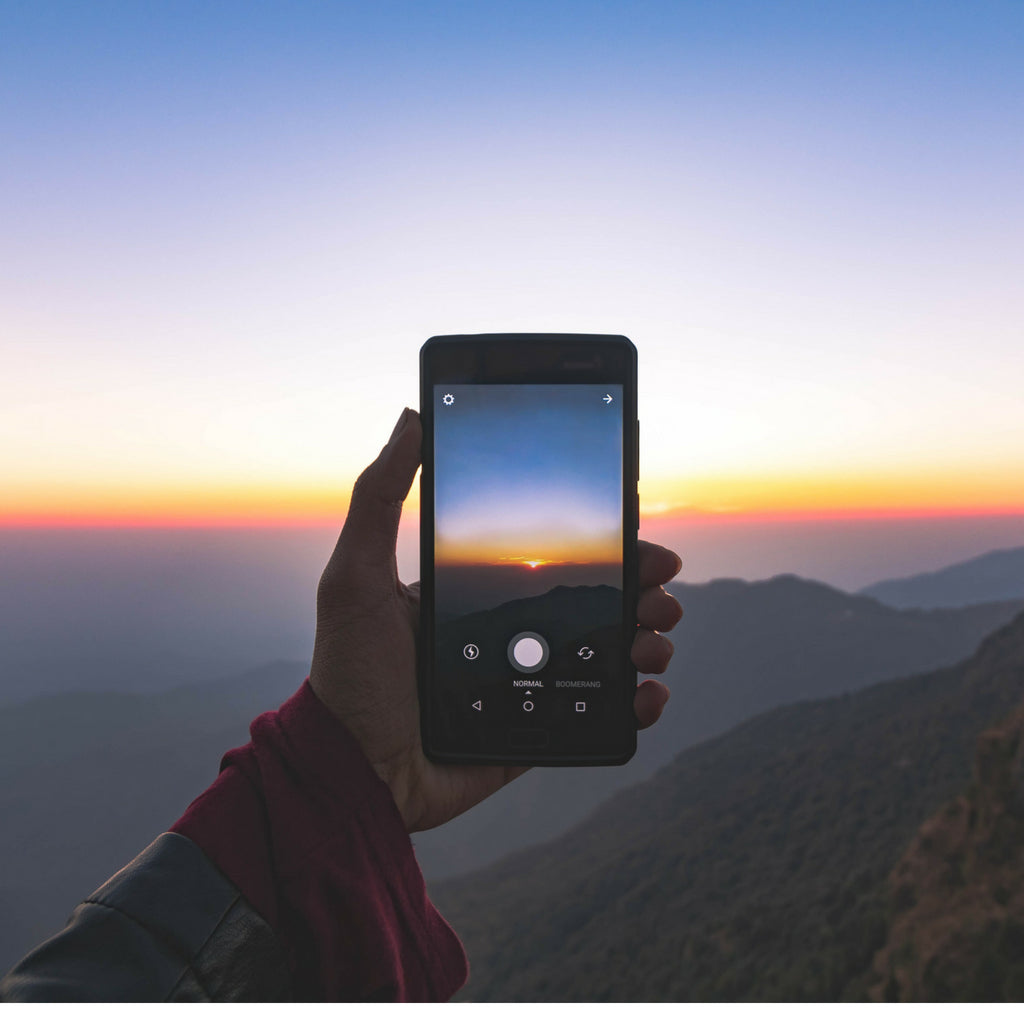
Time of day is important
If you are committed enough to the cause, then get up early! Take advantage of the natural light that the sun provides. The Golden Hour as they call it is just after sunrise, or just before sunset. These times produce a redder light that glows. This is perfect for landscapes or cityscapes and will give your photo a beautiful golden glow you can’t achieve any other way. Avoid taking outdoor photos during midday sun. The sun is harsh at this time and will lead to very bright photos with not much detail.
Play with shadows
As afternoon approaches, look out for the long and stretching shadows caused by the sun. This can make for artistic photos by producing interesting shapes within the shot. In this respect, it is the absence of light that you are playing with and using for your benefit.
Exposure is key
Get comfortable with the exposure settings on your phone, or better on a camera app you can download. When taking a photo, ensure the brighter parts are not overexposed. Tap on your subject and use the exposure slider setting so that the highlighted parts have enough detail. An underexposed photo is better than overexposed. Overexposure lets in so much light, that you lose all detail. However, you can always pick up more detail later in the darker parts with post-production editing.
Editing
Whether you use your already installed camera software, your computer or a camera app, editing is important in order to adjust the lighting and the result you want.
Using the settings available, play around with the different levels of exposure, contrast and brightness. Try to figure out if the photo is under or overexposed. If underexposed, don’t bring up the exposure too much as it’ll lead to a grainy photo. Overexposure should be avoided at time of capture, as mentioned above.
Apps
If you’re not content with your pre-existing editing options, then download an app instead. This will give you heaps more control when taking a photo, as well as after in post-production. Great apps for adjusting lighting include Afterlight, Adobe Lightroom or VSCO.